
Start With the Ceiling Line, Not a Sample Profile
Crown moulding should relate to the height of the ceiling, the width of the room and the trim already around doors, windows and baseboards.
VIP Classic Moulding reviews those details before recommending a profile. The same planning becomes more important when the room will also include a waffle grid, pot lights, plaster details or a full wall treatment.

One Room, Three Connected Decisions
A strong ceiling design is planned as a whole. Choosing each part separately often creates awkward beam spacing or lights that land too close to trim.
Perimeter Crown
The crown defines the wall-to-ceiling transition. Profile height and projection, meaning how far it extends across each surface, should suit the room and leave room for the ceiling design.
Coffered or Waffle Grid
The room dimensions determine the number and shape of panels. Square waffle layouts create a regular rhythm, while coffered designs may use rectangles, varied depths or added inner trim.
Lighting Positions
Pot lights, chandeliers, vents and ceiling speakers should be marked before beam locations are finalized. Electrical work must be handled by the appropriate licensed electrical contractor.


From a Flat Plane to an Ordered Ceiling
A coffered ceiling works best when the grid feels centred from the main view into the room. The first beam should not simply begin at the closest wall. Openings, fireplace placement, built-ins and the main light fixture all affect where the pattern should sit.
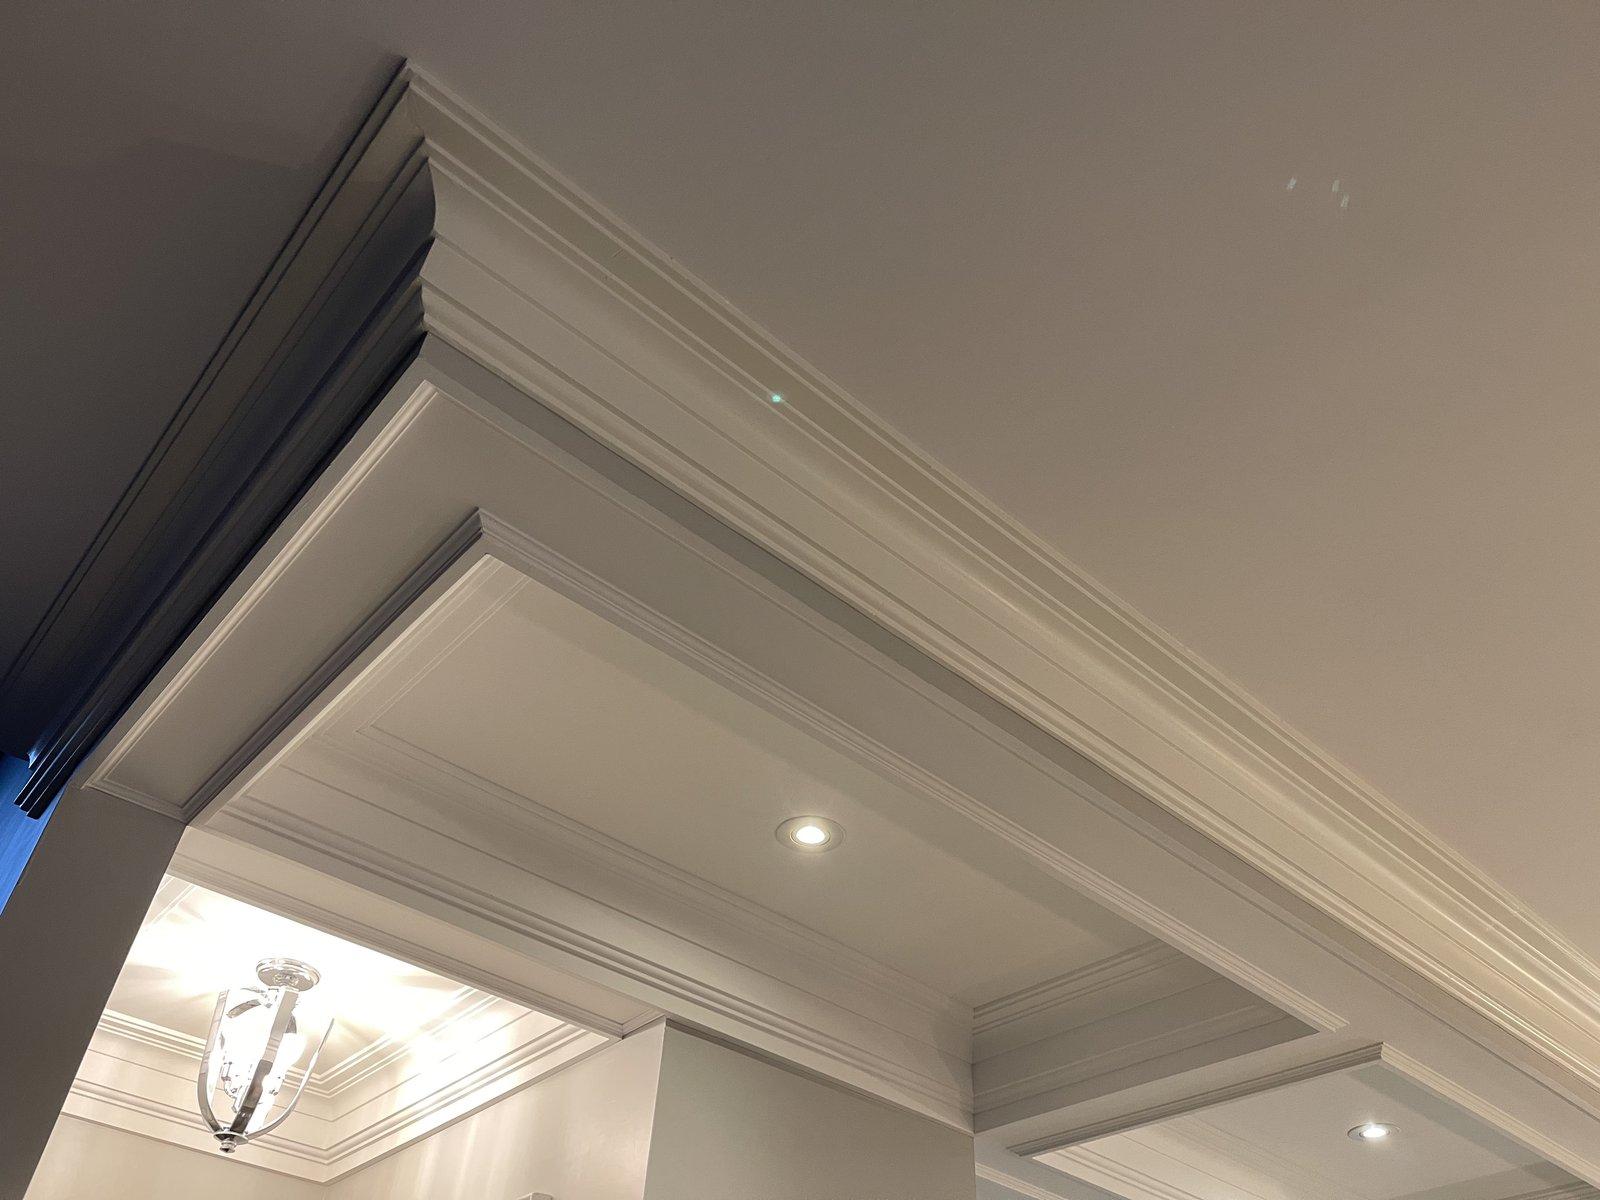
The ceiling shown here also demonstrates why crown scale matters. The perimeter has to frame the grid without competing with it.
- Grid rhythmPanel widths should look deliberate from one end of the room to the other.
- Edge conditionThe final panel and perimeter crown need a clean, readable transition.
- Fixture centreA chandelier or central fixture should relate to the panel layout, not fall against a beam.
- Finish scopeFilling, caulking, priming and painting should be confirmed before installation begins.
Choose the Finish for the Way the Room Is Used
The same crown profile does not need to run through every part of the property. Scale and detail may change while the overall trim language stays related.
Dining and Formal Living Rooms
Good fitLayered crown, coffered ceilings, waffle grids and wall panels can create a more structured room. The ceiling pattern should respond to the table, fireplace or principal seating area.
Family Rooms and Media Walls
Good fitCleaner crown profiles, feature walls and wood slat panels keep the room visually organized around a television or fireplace. Lighting and speaker positions should be marked early.
Hallways and Staircases
Good fitCrown moulding, picture-frame trim and wainscoting help connect sightlines between floors and rooms. Changes in ceiling height and angled stair walls require measured transitions.
Bedrooms and Home Offices
Good fitA restrained crown profile or one focused wall often suits these rooms. Acoustic wood slat panels may also help reduce reflected sound in an office or media-focused room.
Commercial and Reception Areas
Good fitWall panels, durable trim and a clear ceiling layout can define waiting areas, meeting rooms and display zones. Access, work hours and finishing requirements should be discussed with the scope.
Services That Should Be Planned Together
A crown installation often meets another surface, opening or ceiling detail. Reviewing those connections together helps keep profiles and panel lines consistent.
Crown Moulding
Profile selection, layout, cutting, joints, fastening and finishing at the wall-to-ceiling line. Discuss crown installation
Waffle and Coffered Ceilings
Measured ceiling grids planned around room dimensions, crown transitions and fixture locations. Explore ceiling designs
Plaster Moulding
Installation, repair, replacement and replication for plaster crown, medallions, panels and decorative details. Review plaster moulding
Wainscoting and Raised Panels
Picture frames, flat panels, raised panels and full-height wall treatments arranged around openings and furniture. Plan wall panelling
Accent, Media and Wood Slat Walls
Feature-wall layouts for televisions, fireplaces, offices and reception areas, including acoustic wood slat panels. Compare slat wall panels
Baseboards, Casings and Door Trim
Baseboards plus coordinated window, door and interior trim that relate to the crown profile. Coordinate decorative trim
Pot Lights and Interior Painting
Fixture planning and finish coordination for rooms receiving new ceiling trim. Electrical scope requires the appropriate licensed electrical contractor. Review pot-light service
When Plaster Moulding Belongs in the Plan
Plaster moulding is not simply another crown profile. It may be the better direction when a room has an ornate detail, a curved condition, a ceiling medallion or damaged trim that needs to be copied.
The existing piece and surrounding surface should be inspected before a repair or replication approach is confirmed. Age, paint buildup, missing sections and access all affect the work.
How a Markham Crown Moulding Project Is Planned
The sequence below keeps design decisions ahead of cutting and installation. The exact scope depends on the room, material and existing condition.
Review the Room
Discuss the desired finish, ceiling height, room use, existing trim, corners, bulkheads and fixture locations.
Measure and Set the Layout
Confirm profile scale, crown projection, grid spacing, panel centreline and transitions at openings.
Prepare and Install
Protect the work area, prepare agreed surfaces, cut and install the moulding or ceiling components.
Complete the Agreed Finish
Finish joints and edges according to the scope, then complete the agreed priming or painting work.
Markham Moulding and Interior Finish Portfolio
Use these images to compare ceiling grids, crown scale, connected trim and feature-wall finishes. Markham-labelled images come from the existing Markham page; other images show wider VIP service examples.


Crown Moulding and Ceiling FAQs for Markham
These answers focus on profile scale, ceiling conditions, connected lighting and the information needed to plan the work.
Profile and Room
What crown moulding size suits my room?
The right size depends on ceiling height, room width, profile projection and the scale of existing baseboards and casings. A sample should be judged in the room rather than by catalogue width alone.
Can crown moulding follow an uneven ceiling?
Minor variation is common, but the wall and ceiling line should be reviewed first. Profile choice, fastening, joint placement and preparation depend on the degree and location of the irregularity.
Does crown need to match the baseboards exactly?
The profiles do not need to be identical. Their scale, detail level and paint finish should relate so the room reads as one interior trim plan.
Ceiling Design
Can existing crown stay with a new coffered ceiling?
It may be possible, depending on the profile and the proposed grid. The perimeter transition should be measured and drawn before deciding to retain, adjust or replace the existing crown.
What is the difference between waffle and coffered ceilings?
A waffle ceiling generally uses a regular square grid. A coffered ceiling may use squares, rectangles, varied beam depths or more decorative inner details.
How are pot lights planned with ceiling beams?
Fixture positions should be marked before the grid is finalized so lights do not conflict with beams or panel edges. Electrical work requires the appropriate licensed electrical contractor.
Scope and Estimate
Do you repair and replicate plaster moulding?
VIP Classic Moulding installs, repairs, replaces and replicates plaster moulding, including crown profiles, medallions, panels and decorative details. Existing conditions must be reviewed before the method is confirmed.
Is painting included with installation?
The estimate should identify the agreed filling, caulking, priming and painting scope. Confirm which finish tasks are included and which will be completed separately.
What affects a crown or coffered ceiling quote?
Room dimensions, profile or grid complexity, ceiling height, material, access, surface condition, lighting conflicts and the agreed finish all affect the scope.
What should I send for an estimate?
Send wide room photos, ceiling height, approximate dimensions, close images of existing trim or damage, fixture locations and an example of the design you are considering.
Prepare Your Markham Project Details
Markham includes detached, semi-detached and townhouse forms, but the room itself should drive the trim plan. Send the ceiling height, dimensions and clear photos so the first discussion stays specific to your property.
Request a Crown Moulding or Ceiling Estimate in Markham
Send photos from the main corners, the ceiling height, approximate room dimensions and any profile or ceiling reference you like. Add close images of existing crown, damaged plaster, bulkheads and fixture locations so VIP Classic Moulding can review the right scope.