Whether it’s for a formal living room, dining room or even your teenager’s bedroom, picture frame moulding can bring a level of elegance and sophistication to any room in the home. It’s a fairly affordable and DIY-friendly home renovation nearly everyone can do with a few of the right tools and patience. So, what is picture frame moulding? It’s the hottest interior design trend among homeowners at the moment. Just like the ‘70s saw an increase in wood panelling and in 2010, everyone was installing shiplap in their bathrooms, picture frame moulding is now at the forefront of interior design in many homes. You may have heard of picture frame moulding by some of its other names including Georgian panelling, picture frame trim or box moulding, but this decorative interior design technique dates back to the 1700s. It was meant to add a touch of elegance to the homes of wealthy people. These days, it’s an affordable way for any homeowner to elevate the look of their home, apartment or office. From new builds to remodeling jobs, everybody wants picture frame moulding on walls these days.
Homeowners love picture frame moulding so much these days because it adds a visual interest to your walls without it becoming the focal point of the room. It can go from ceiling to floor or only take up part of the wall. The beauty of picture frame moulding is that it’s so customizable you can make many different choices to suit your style. It can be the same colour as your wall or another colour to provide an added accent. Now, this all might seem to be a bit of a daunting task as a DIY project, but trim frame installation is affordable and very possible for homeowners to tackle on their own. You just need to follow some important steps and make sure you have the right supplies to do a good job. The picture frame wall moulding can be created in two ways: First, you can place a board against the wall and use it as a guide to lay your pieces of trim in a frame shape. Or second, you can build your four-sided frame and install right against the drywall or plaster, depending on the design of your home. Continue reading if you’d like to know more about picture moulding on walls, how to install it, and what tools you’ll need to get the job done correctly. All of the information in this blog comes from the experienced professionals at VIP Classic Moulding.

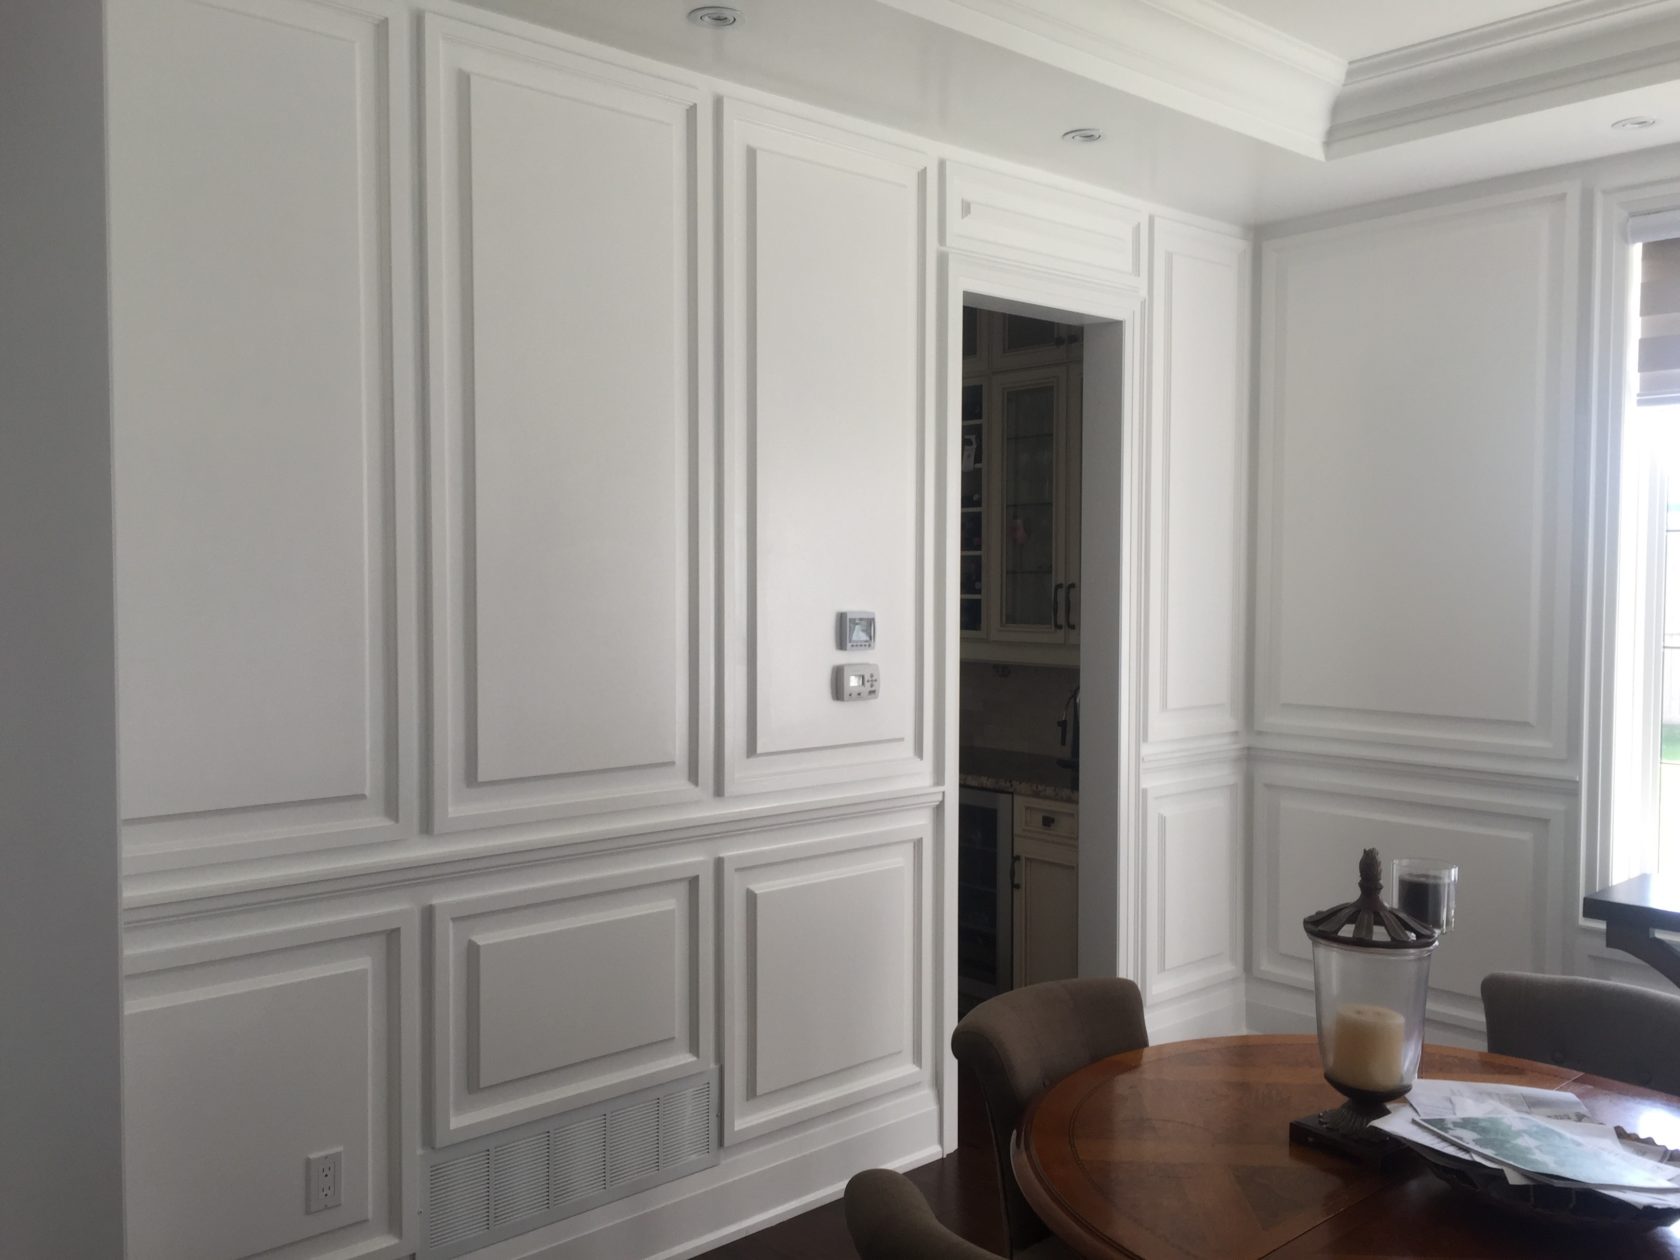
Modern Wainscoting Panels
When you’re laying out your picture frame moulding, you have multiple layout options to choose from. You can do your boxes all the same size or you can choose to do a pattern, alternating between boxes which are wide and thin.
You’ll also need to take into account any electrical outlets, wall sconces, windows or doors which will all affect the layout of your picture frame moulding.

Measuring and Spacing for Picture Frame Moulding
The first step is to obtain all of the measurements of the room where you will be installing your DIY wainscotting. Next, decide how far apart you want the frames to be.
Determine the number of inches that will exist between the boxes, and this number will remain the same between every edge of the frame, including between the boxes and the ceiling and between the boxes and the baseboards.
Don’t try to do this all from memory! Make sure you physically map out how you’d like your picture frame moulding to look and write down all of the measurements. You can do this with a classic pen and paper or go pro level and design it on a computer program.
When determining the spacing of your picture frame moulding, consider what lengths your preferred design is available at the local hardware store. How much you’ll have to cut it down may help you decide.

What Supplies and Moulding to Use
Before you begin your picture frame moulding project, be sure to make a list of everything you need. You’ll want all of the necessary materials on hand before you start the remodelling process.
Head to your local hardware store and choose your desired picture frame moulding design. Most people prefer something on the smaller, thinner end of the options so that it closely resembles what a picture frame might look like.
The cost of buying these supplies will vary depending on the quality of the materials you’ve purchased as well as how much you will need to adequately cover the walls of the room that you’re working on.

You can use something called half-round moulding, which is a moulding that’s round on the front and flat on the back, but the preferred material is the traditional picture frame moulding. The defining characteristic of this is the fluting which looks a bit more luxurious than simple half-round offerings.
The most popular material for picture frame moulding is made from wood, but there are other products made from polystyrene which can be a bit cheaper.
What’s not cheaper, but easier to install, are pre-assembled picture frame mouldings. Ask your local hardware supply store about this option if it’s something that interests you. Also, you can use liquid nails in addition to actual nails, but it’s not completely necessary.
Liquid nails are an added safety measure especially if you’re working the soil. But could severely damage the drywall should you ever decide to take the picture frame moulding off of the wall.

DIY Picture Frame Wainscoting with Trim
Now that you have all of your measurements, your layout planned and the materials purchased from the hardware store, you are ready to install your elegant picture frame moulding in your home. Here are the steps you need to take. And remember, be patient, measure twice but cut once! And take a break if you need to. DIY picture frame moulding installation can be a painstaking process that requires a detail-oriented mindset to be successful.
Time To Cut: Using a hand saw and mitre box or electric chop saw, cut each of your moulding pieces at a 45-degree angle so they fit together nicely in that box shape that you desire.
Level It Out: We strongly recommend investing in a laser level for this next step. Your laser level will help ensure that all of your picture frame moulding pieces are lined up straight and neat. You should double check the measurements by hand. But for the best results, the extra money you’ll spend on a laser level is worth it based on the time it will save you and the headaches it will prevent you from experiencing.
Attach Them to the Wall: Starting with the picture frame moulding pieces at the bottom of each box, add some liquid nails to the back of each piece, line it up with the laser on the wall and firmly press them against the drywall for a few seconds until they stick. Next, take your nail gun and add a nail approximately every 30 centimetres. Avoid adding any additional nails beyond this interval because it’s not necessary and you’ll just have to do more caulking later on.
Caulking With Care: Now comes one of the most meticulous jobs of the picture frame moulding installation process. Caulking is necessary to give your picture frame moulding a professional-looking finishing touch. You’ll have to do a small bead along all the edges between your moulding and the wall, as well as over the top of every nail hole. This is why we recommended restricting your nails to every 30 centimetres!
Sanding and Painting: And now you’re ready to sand! We recommend using a 120-grit sanding stone to get some fine smooth edges, especially where the nail holes were plugged up with caulking. Once you’re satisfied with your sanding job, wipe everything down to remove any dust and debris. Paint your picture frame moulding the same colour as your wall or tape along the edges to make it a different colour such as white, gold or silver for an elegant accent that will elevate the look of your room.
Contact Us
As we mentioned earlier, DIY picture frame moulding installation is not an easy task. It’s time-consuming and requires a lot of patience to get it right. That’s why many homeowners prefer to enlist the services of VIP Classic Moulding. Our experienced team of experts have completed hundreds of these design jobs and have mastered the art of quick and perfect picture frame moulding installation.
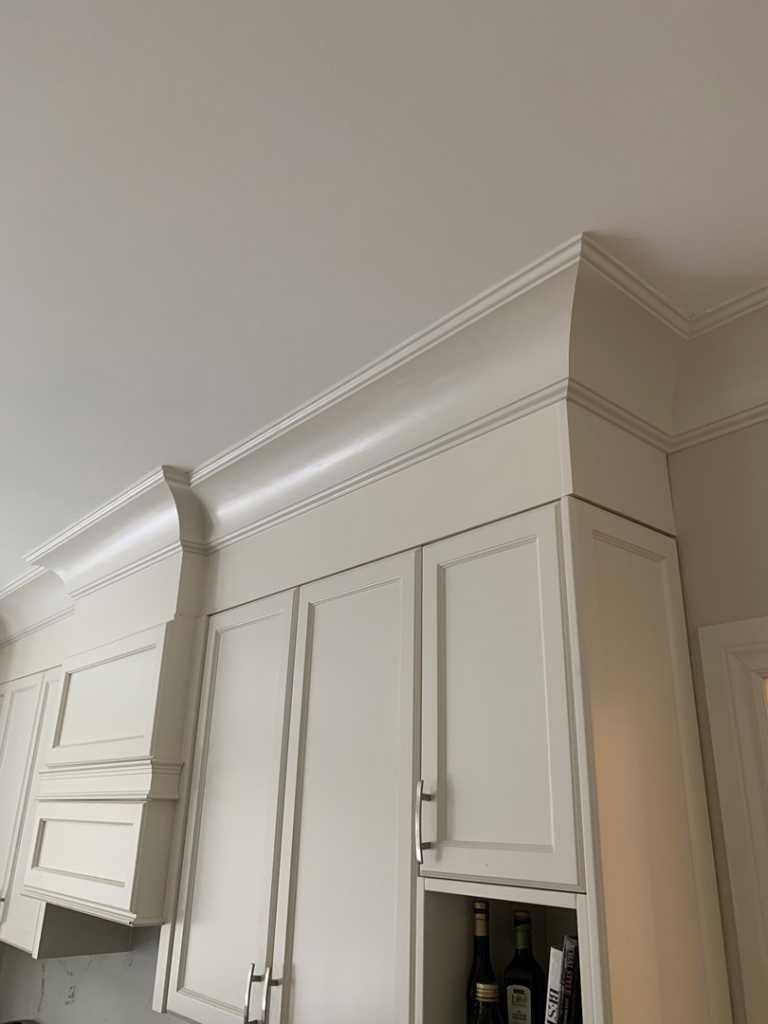
From wainscotting to vaulted ceilings and the finest crown moulding, our team is committed to quality craftsmanship and making sure the small details are just right. Work with our top designers to ensure your moulding project is on trend, within your budget, and most importantly, matches your style and preferences. Are you ready to get started? Contact VIP Classic Moulding today to book your consultation and get an estimate.